Tuesday, March 19, 2013

Busy Knitting

Hello friends!  It's been a crazy winter here in Bloomington.  I've had a lot time on my hands due to my husband's busy teaching schedule.  It's given me ample hours pursue some long-lost knitting projects.  I thought I would share them with you!  I've included links for most projects.

For any knitters who haven't yet signed up for Ravelry, you need to...like, yesterday.  It's the perfect site to find patterns, organize your knitting list, and get help if you need it (somehow I always do).  I find most of my knitting patterns on this site, though I still love my old standbys, Last Minute Knitted Gifts and More Last Minute Knitted Gifts by Joelle Hoverson.  I made these fingerless gloves with the help of Joelle:


I also made a few gifts for my loved ones.  My sister got this double cabled scarf and a retro headband. The ear warmer headband has become my go-to for a nice, quick gift - I must have given half a dozen for Christmas.  They are also an easy way to get rid of scrap yarn!


My other sister got a headband (she requested a bow that big)!  I made that one from a picture.  It was basically three rectangles, one with a slight indent in the middle, sewn together.


My husband received this sweater for Christmas.  However, he still hasn't worn it - my fault completely!  I was using stash yarn but ran out.  The matching yarn I bought was from a different dye lot.  Can you tell?  It bothers me enough that I am in the process of trying to re-dye the yarn with Rit dye.  I hope it works out and doesn't mess with the superwash finish on the wool!  I'll let you know....*finger biting*


My spring break project was to make my long, skinny dog a sweater.  She has virtually no body fat and gets cold if we aren't outside exercising.  This was the end result!  Not bad for having to change the pattern completely - Ginny is a size medium, large, AND extra large in different places!  What a weirdo.


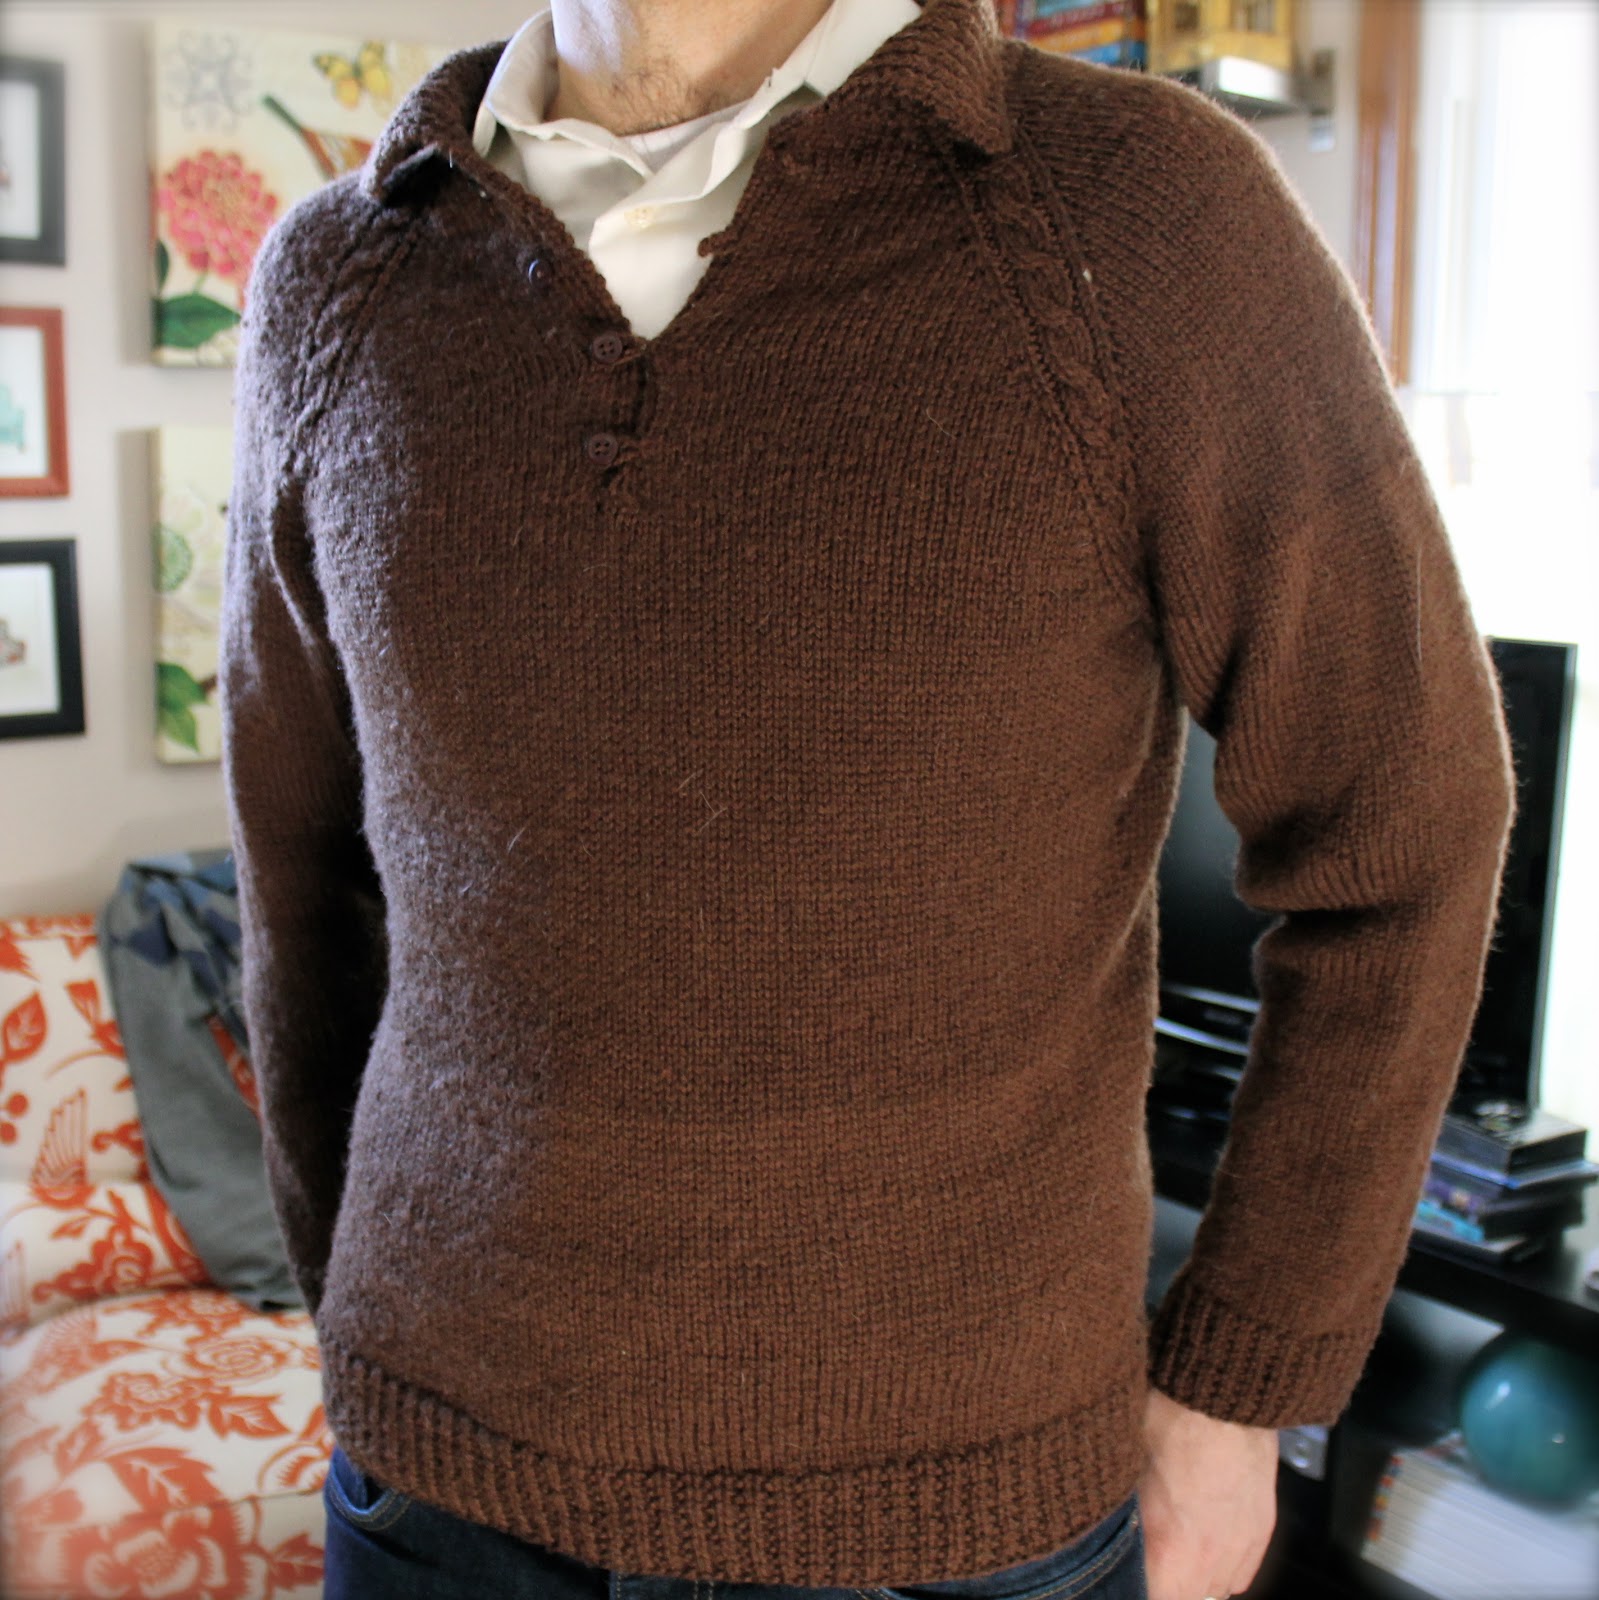
I'm now on to a project for myself, finally!  I'm making myself this heirloom cardigan.  Though I'm still in the beginning stages, I already love the warm merino wool and delightful details, like the twisted stitch ribbing and the bound edge showing on the sleeves and bottom.  I'll make sure to post when I'm done!


While I'm am happy to share all my knitting projects with you, I really hope spring will be here soon.  I love cozying up with a cup of tea and some skeins of yarn, but I cannot wait to be outdoors gardening in the sunshine.  More on that later!


Sunday, September 9, 2012

Molasses Spice Cookies


It finally feels like fall!  After a blistering hot summer (I literally can't remember the last time I was cold),  autumn has made an appearance.  Warm days, cool nights, leaves falling...I couldn't be happier!

I haven't posted for a while because we spent the summer doing amazing things, like:

Traveling to Mexico with some of the best friends ever,


going to wonderful weddings in Minneapolis...


....and Stillwater


and hanging out on the lake.


Alas, summer is over and it's back to work and back to school.  Somehow it's all more manageable knowing that pumpkin beers, cozy sweaters, and all of my favorite holidays are just around the corner.

With that in mind, here's one recipe that makes autumn even sweeter:

Molasses Spice Cookies
from Best Recipe (by Cook's Illustrated) - I highly recommend this cookbook!


For cookies:
2 1/4 C all-purpose flour
2 tsp baking soda
1/2 tsp salt
1 1/2 tsp ground cinnamon
1 tsp ground ginger
3/4 tsp ground cloves
1/4 tsp ground allspice
12 tbsp (1 1/2 sticks) unsalted butter, softened
1/2 C dark brown sugar, packed
1/2 C granulated sugar, plus 1/3 C for rolling cookies
1 large egg
1 tsp vanilla extract
1/3 C unsulphured molasses

For glaze:
1 1/4 C powdered sugar, sifted
2 tbsp milk


Adjust racks to up and lower middle positions and heat oven to 375 degrees.

Whisk flour, baking sode, salt, and spices together in a medium bowl and set aside.

Cream butter, brown sugar, and 1/2 C granulated sugar until light and fluffy, about 3 minutes with a mixer on medium speed.  Add egg, vanilla extract, and molasses.  Beat until combined, about 30 seconds.

Add dry ingredients and beat a low speed until just combines, about 30 seconds.

Place remaining 1/3 C sugar in a shallow bowl or pie pan.  Pinch off and roll 1 inch balls of the dough.  Roll in sugar and place on an ungreased cookie sheet (use parchment paper for easy clean up).

Bake, reversing position halfway through baking, 11 - 13 minutes.  The outside edge should begin to set and the center should be fluffy.  Cool on sheets for a few minutes before transferring to cooling rack.

To glaze the cookies, use a spoon and work dripping the glaze diagonally across a few cookies at a time.  To make clean up easier, put your used parchment paper under the cooling rack.  Viola!


Saturday, June 30, 2012

Garlic Pesto


Jeez, it's hot!  These 100 plus degree days have really been taking a toll on my garden.  Between the heat and our upcoming vacation to Mexico (where it is 20 degrees cooler - yay!), I knew I had to do something with my herbs before I lost them!  I can't tell you how pleased I was to bring in a beautiful, full crop of basil.  Look at those gorgeous leaves!


In a way, I almost feel silly writing a recipe for pesto.  Pesto is one of those foods that can be made a million different ways and still be amazing.   Just doing a search for "pesto" on Allrecipes.com yielded 588 results!  Yikes.  I'm not sure that I can really say that my recipe beats those 588 others, but I thought I would share it anyway because, darn, it's good!  It's also a food made for hot weather.  Use it in a pasta salad, with a tomato and slice of bread, or as a spread in a sandwich.


Garlic Pesto
Makes about a cup

4 cups packed fresh basil, washed and dried
1/2 cup parsley (optional - it makes the basil go a little farther)
1/2 cup pine nuts, toasted and cooled
3/4 cup parmesan cheese
3-4 cloves of garlic
1/4 cup extra virgin olive oil, plus extra for storage


Place basil, parsley, pine nuts, parmesan, and garlic in a food processor.  Process, adding oil in a stream until all ingredient are fully integrated.  I like to make my pesto a little dry since it's easier to store, but feel free to add more oil if using the pesto right away.  If not, pesto should be mixed with more olive oil to make it "spreadable" right before use.


Transfer to a canning jar or other storage container.  Top with a layer of olive oil.  Jars can be stored in the refrigerator for several days or placed in the freezer for several months.

You can try many variations of this recipe.  Try adding more or less cheese, olives, or sun-dried tomatoes!  The possibilities are endless!


Wednesday, June 20, 2012

The Arizona Biltmore

We went to a family reunion this weekend.  While it was so fun to meet the extended family, the best part of the weekend was the hotel (shhh....don't tell them). 

The Arizona Biltmore.  It truly is the jewel of the desert.  I don't normally share vacation destinations, but this one is too beautiful not to showcase.  I came away feeling inspired and excited for summer projects (which will be my next post).  I thought I would share some of the beauty with you. 

The hotel was built in 1929 (great year to start a luxury hotel, huh?) and was designed by Frank Lloyd Wright.  You can see his influence everywhere.  For more information, visit the official website.


A view of Squaw Mountain


Gardens


I need these lights in my next house.


The lobby - don't you love all the geometric furniture?


One of the banquet halls


There are several pairs of these lovely ladies around the hotel.


The entrance 


A Frank Lloyd Wright stained glass design.  I believe it's called Saguaro.


More ladies...


Ludvic's Marilyn Monroe paintings


Inspiration is all around us.


Sunday, June 10, 2012

Baby Succulents in Crafty Pots


After giving my houseplants haircuts, I was left with several cuttings of jade branches.  I didn't want to throw them away.  They were too beautiful and so small.  With a little time and a small amount of money, I figured these baby succulents would make great gifts.  So far I have given 2 away and the new owners adore them!  Not only are the pots cute and fun, but jades are some of the easiest plants to care for.  

Materials:
Several small (4") pots
Callused jade cuttings
Ribbon of your choosing - I used 3/4" satin in teal
 3/4" - 1" buttons
Double-sided tape


I filled my pots with soil before adding the decorations.  I didn't want to get the pot dirty and this allowed me to clean off any spots with a damp rag.  You could certainly fill the pots later, just be careful not to spill any dirt on the ribbon.

Here's how easy this was - I used double-sided tape on the ribbon, adhered it to the edge of the pot, placed the button over the unfinished edge using the same double-sided tape, and viola! The pot became a work of art. 

Carefully place your callused jade babies (see this post on propagating house plants for more information) in the soil.  The jades will be a bit wobbly until they establish roots, so secure them with a popsicle stick or anything else you can find that is pretty.  Since I was giving these away as gifts, I thought it would be a good idea to include some directions with the plant.  I wrote a little note:


If you decide not to give a note or if you are keeping the cuttings for yourself, just make sure that the jade is kept in a small pot for the first year.  Like most plants, the jade likes to secure its roots in a small space before being introduced to a new environment.  You may need to water the jade more then once a week as it establishes itself.  Don't let the leaves shrivel; this is usually a sign that the jade is not getting enough water.  

Have fun potting!  As always, feel free to leave me comments or suggestions!  I love hearing from you.  


Even Ginny likes them!

Friday, June 8, 2012

Propagating House Plants


I admit it.  I have been a HORRIBLE blogger.  I blame it on the end of the school year and the return of my husband to the U.S. of A.  A girl has to make time for work and family before blogging, yes?

Alright, enough excuses.  Jon is home and really into the last Game of Thrones book (so we all know I won't be seeing him for a while).  All of my students' grades are in and I've managed to leave my classroom in decent shape for next school year.  It's time to do some bloggin'!

A few weeks ago, I noticed that some of my houseplants needed a haircut - and BADLY.  The little jade I bought at the farmer's market is now taking over the desk and the basket of creepy-crawly plants that I inherited from a friend have spread throughout the kitchen.  Where to begin?

I started doing a little research, just trying to find out what my plants required before the snip-snip action began.

A jade with a callused edge from trimming.

Jades: These are best trimmed in the spring and early summer, since that's when the plant usually starts to grow new branches.  Cut the plant at a node, where you can see little line indicating a different segment and right after a leaf set.  Be aware that the plant will mostly likely stick up some new growth around this area so make sure it is in a place that you would like to see more jade branches.  Try not to mess with the open edge - you don't want any infection.
Here you can see where the new growth has emerged from the callused edge.

The cut off branches can be propagated for new baby jades!  They should be left to dry for 1-2 weeks in a cool, shady space.  The cut edge should have a callus before planting it, as the callus will discourage any disease.  Provide the propagated plant with some support and water about once a week, though you might have to water it more often as the plant starts to establish itself (don't let the leaves shrivel).  The baby jades will do fine in a small pot for about a year - they don't like too much space.


Philodendrons: These are those fun viney plants with heart-shaped leaves, which is perhaps why they were named "love-trees" in Greek.  They are great air-filterers and easy to take care of.  To give these a haircut and promote growth at the base of the plant, simply cut the vine at a place just after the node - these are spiny-looking.

To propagate, make a 45 degree cut just under another node and place the cutting in water.  Feel free to add some plant food, as this will promote root growth.  In about a month, you will see roots forming out of the spiny node.  Once you get a few strong roots, stick in a pot and water about once a week.


Both of these succulents benefit from sandy soil, though I can tell you that I have used regular potting soil and they look fantastic!


Check back in a few days to see what I did with these baby succulents (think crafty pots and great gifts)!  Happy planting!


Saturday, May 5, 2012

No-Bake Peanut Butter Pretzel Bites

These sweet and salty no-bake treats are tasty and very easy.  I tried (not very well, I might add) to make them a wee bit healthier with the whey protein powder.  All in all, a good, quick snack or dessert!


No-Bake Peanut Butter Pretzel Bites
From Vegetarian Times

1/2 C Vanilla flavored powdered beverage (I used Trader Joe's Vanilla Whey Protein Powder)
2 Tbsp water
1 1/2 tsp vanilla extract
1/2 C creamy peanut butter
1/2 C sugar
3 Tbsp dark rice or corn syrup
2 cups crushed mini pretzels
1/3 C sweetened flaked coconut (optional)

Spread parchment paper on a baking sheet (coat with cooking spray if desired).  In a small bowl, whisk together beverage powder, water, and vanilla.

Warm peanut butter, sugar, and corn syrup in a saucepan over medium heat until smooth (2-3 minutes).  Stir in beverage mixture until combined.  Add pretzels and coconut until evenly mixed.

Pinch off 1 inch pieces and leave to cool on the baking sheet.  Cool at least 10 minutes before serving.